
Truth Time: Sizing Your Artwork
Let's talk about sizing artwork for print. We have been getting more and more improperly sized files lately. Sometimes our artwork team has time to resize them for our members, and sometimes they don't. In truth, they are not supposed to be editing people's artwork at all, they just do it out of kindness! However, with the amount of improperly sized files growing every day, our team is spending more and more of their day editing member files that are technically required to be submitted 100% ready to print. While they love to help, it's becoming a problem!
How To: Size Artwork Correctly For Print
We know sizing can be confusing sometimes. With so many items, each with a different sizing requirement, it's hard to keep the artwork requirements straight. We know it can seem overwhelming, so we have created a guide to help you guys get the sizes of your artwork correct every time! There are a few ways you can do this! They all start with visiting our products page.
1. Choose Your Product
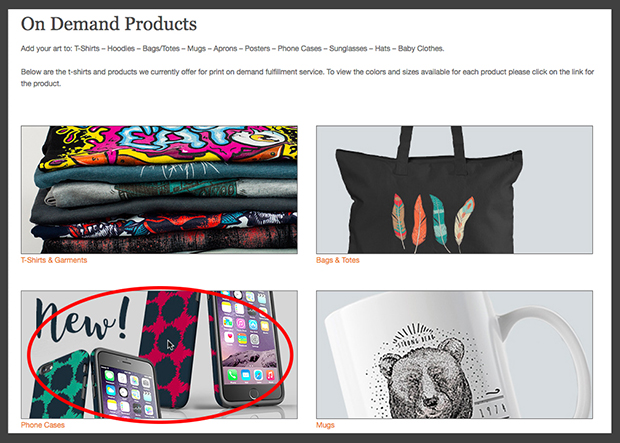
First things first, you will need to go to the product page of the item you are adding to your shop. Let's use cell phone cases as an example.
2. Check Image Requirements
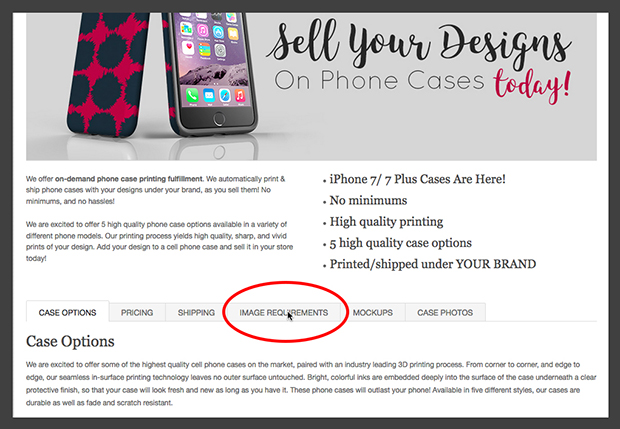
Click on the image requirements tab! This is the place where you can find all the artwork requirements for each individual item.
3. Choose A Template or Create Your Own
Now that you've made it to the image requirements page, everything you need to know is right in front of you. Let's say the item you have chosen to add is the iPhone 6 snap case. Most of our products have two different options for image requirements. You can either:
A) Download a Preset Template
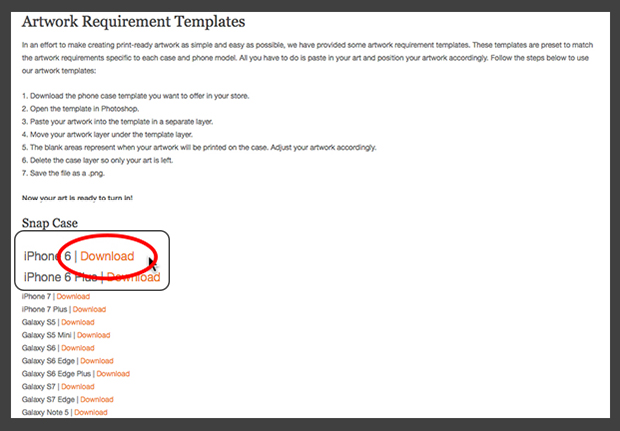
We have created reset templates for most of our items. The templates come pre-sized in the correct color profile and everything! All you have to do is download them and fit your artwork to them!
B) Create Your Own Template
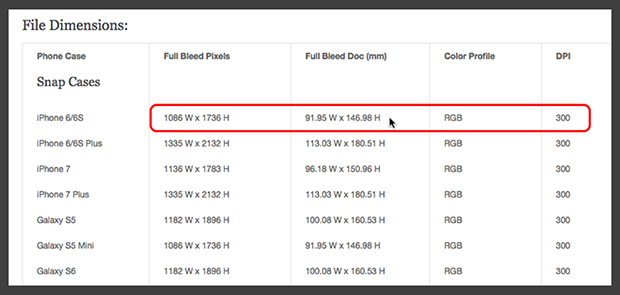
We also provide the actual image requirements for each of our products. If you prefer, you can set up your own work space using the requirements provided.
4. Submit Artwork
After you've sized your artwork properly and saved it as the correct file type, you're done! That's all you need to do!
T-Shirt Sizing
We know sizing for t-shirts is a bit of a different situation. There is no "one size" for the t-shirts, only a maximum size limit. We print out the artwork files onto t-shirts (and all our other items) in the size they are submitted. Sometimes people submit images that over 30 inches wide, and that just wont fit on the front a t-shirt!
Sizes
Regular: 12 inches x 16 inches
Oversized: 14 inches x 18 inches
If you think about it, it makes perfect sense! Someone can want a giant print that takes up a large amount of the shirt, or someone could just want a text phrase across the chest of the shirt. If you need help deciding how large or small to make your design, check out our Design Sizing and Placement Guide.
Common Issues
So what are people doing wrong?
1. Using the mockup tool to size artwork.
Sorry, it doesn't work that way! The mockup tool is a way for us to get an idea of where you want your artwork PLACED on the t-shirt, not what size it should be.
2. Not checking the size of the image
We print out your artwork using the exact size it is sent to us in. If your artwork is 2 inches x 2 inches, it will be printed that way. If your image exceeds the maximum print area for a t-shirt, we cannot print it at all, and it will be kicked back to you for proper sizing. It is important to check to make sure the size of item is the size you want it printed in real life. Again, if you need help deciding what size that should be, check out our Design Sizing and Placement Guide.